Installing the Realtek HD Audio Manager is a requirement for effective control of the various Realtek chipset that are built into laptops/desktop computers running Windows 11 and Windows 10. Using the generic drivers (Windows built-in drivers) may limit the functionality of the Realtek sound system, or it may not be able to function at all. It is always recommended to have a technician checkout your computer if the Audio manager doesn’t fix the issue.
The latest version of the Realtek Audio Drivers is R2.83 and the installation package file is named: Win7_Win8_Win81_Win10_R283.exe this can be downloaded below and will need to be run by an administrator or super user account.
If older drivers exist than currently installed driver for the sound card, the driver package will remove those drivers first.
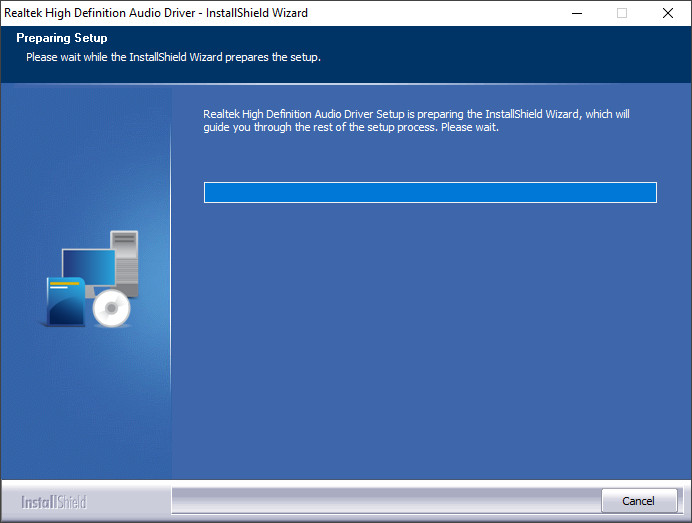
Drivers will begin to extract followed by the installation of those drivers.
Finally you will be prompted if you would like to restart your computer to finish the installation process. (Note if this is a driver upgrade the install process will run again after restart.)
If you choose not to restart your computer at this time you might not have sound until the system is restarted and may have a icon like this in the taskbar notification area:
After the computer has restarted, the installation package may come up a second time, follow the same steps to install the driver and restart the computer a second time when asked. The Sound icon should be back in the taskbar:
After installation is completed if you look in the device manager you may see something like this in the sound branch:
This is a normal healthy system, congratulations!


