Formatting a USB stick to FAT32 is essential for compatibility with older devices, gaming consoles, cameras, and even some modern smart TVs. This tutorial walks you through the process step-by-step using built-in Windows tools—no extra software required.
⚠️ Before You Begin
Important: Formatting will erase all data on the USB stick. Be sure to ⚠️back up any important files before proceeding⚠️.
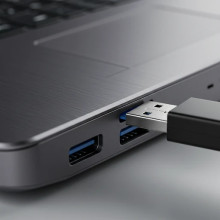
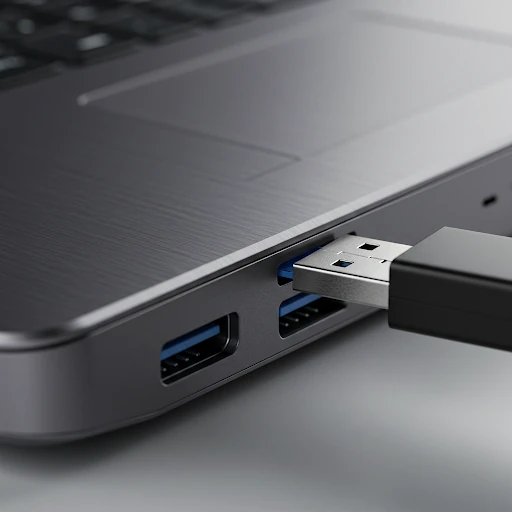
Step 1: Plug In Your USB Stick
Insert the USB flash drive into any available USB port on your Windows PC or laptop.
Step 2: Open File Explorer
- Press
Windows + Eor click on the File Explorer icon on your taskbar. - Navigate to This PC or My Computer to see all connected drives.
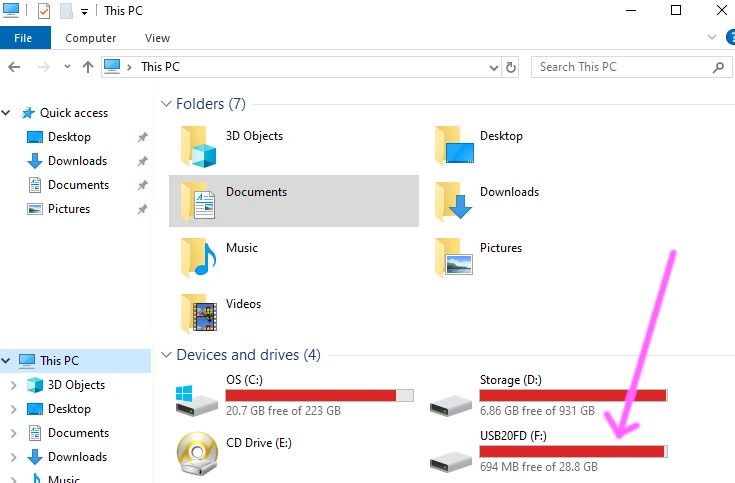
Step 3: Right-Click the USB Drive
- Locate your USB stick (usually labeled as “USB Drive” or by brand name).
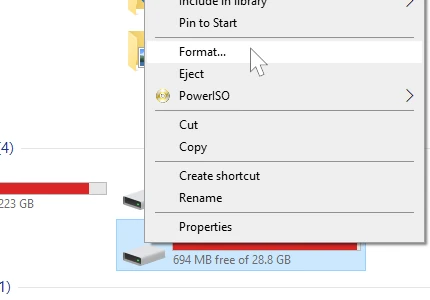
- Right-click on it and select Format from the dropdown menu.
Step 4: Set Format Options
In the Format window:
- File system: Select FAT32
- Allocation unit size: Leave it as Default
- Volume label: (Optional) Name your USB stick
- Quick Format: Leave this checked for faster formatting
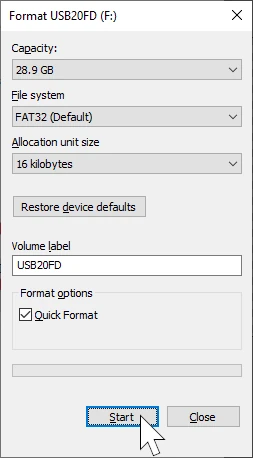
Step 5: Click Start
Once your settings are ready:
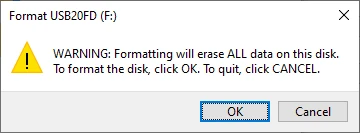
- Click Start
- A warning will appear about data loss—click OK to proceed
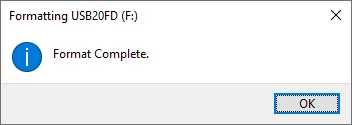
Step 6: Format Complete
You’ll see a confirmation message when the format is done. Click OK and then Close the Format window.
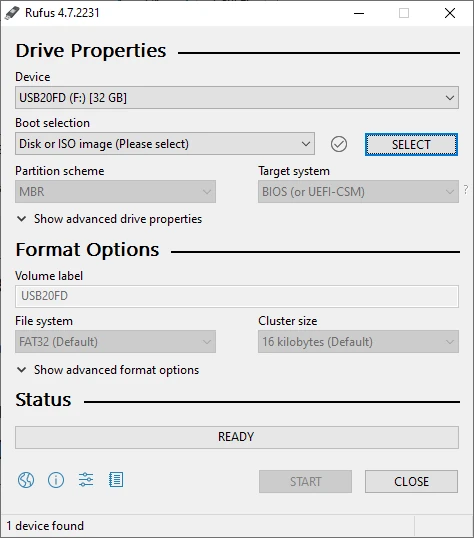
Troubleshooting Tip
If your USB stick is larger than 32GB, Windows may not show FAT32 as an option. In that case, consider using a third-party tool like Rufus to format it.
You're Done!
Your USB stick is now formatted to FAT32 and ready for use with a wide range of devices.