When a computer will not power on, the issue is usually related to power delivery, hardware failure, or a simple connection problem. Follow the steps below in order, from easiest to most advanced and save yourself a trip to the computer shop. These are literally the steps we take when performing a diagnostic.
1. Check External Power First
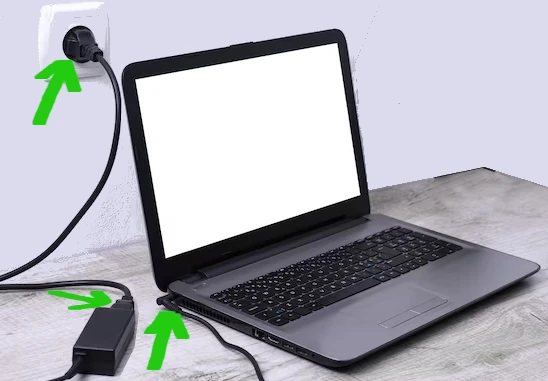
- Make sure the power cable is firmly plugged into the wall and the computer.
- Try a different wall outlet or power strip.
- If using a laptop, test with and without the battery installed.
- Look for indicator lights on the power adapter or laptop body.
2. Inspect the Power Button
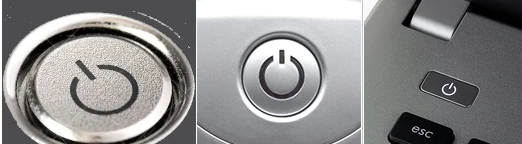
- Press and hold the power button for 10–15 seconds.
- Check for a stuck or damaged button.
- On desktops, ensure the case power button cable is connected to the motherboard.
3. Remove All External Devices

Disconnect:
- USB devices
- External drives
- Printers
- Monitors (temporarily)
A faulty peripheral can prevent startup.
4. Check for Signs of Life
Look for:
- Spinning fans
- Beep codes
- LED lights
- Clicking or buzzing sounds
No signs at all usually indicate a power supply or motherboard issue.
5. Power Supply Test (Desktop PCs)
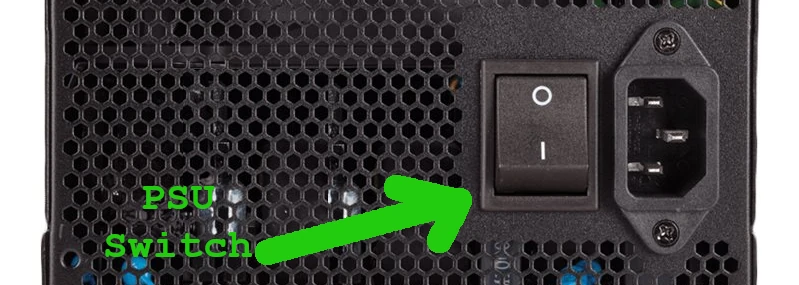
- Ensure the PSU switch is set to ON
- Reseat the 24-pin motherboard power connector
- Reseat the CPU power connector (4-pin or 8-pin)
- If possible, test with a known-working power supply
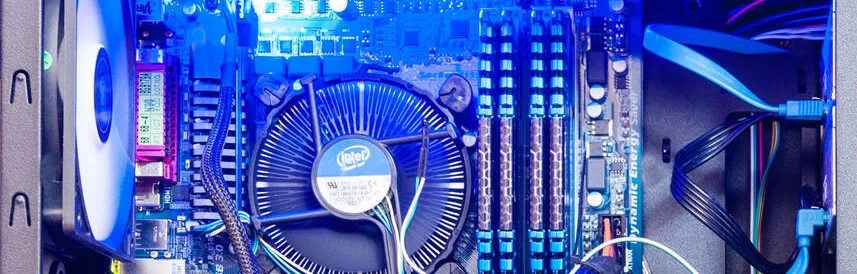
6. Reseat Internal Components
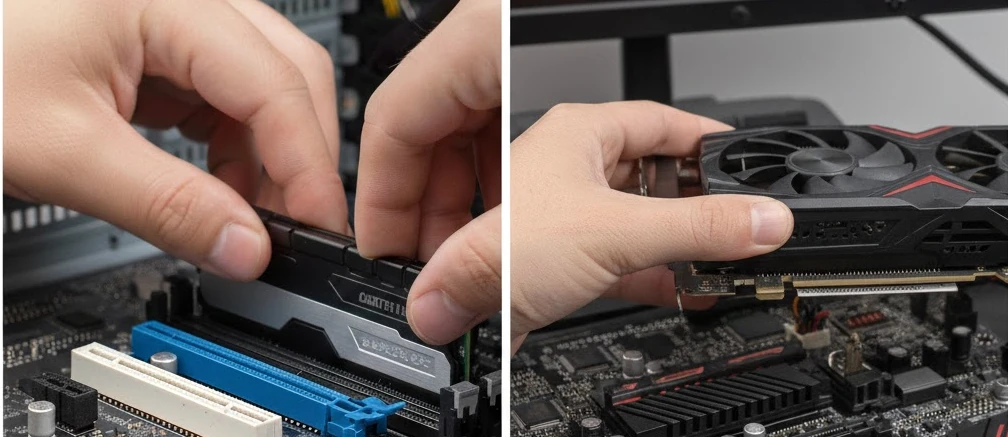
Turn off and unplug the computer, then:
- Remove and reseat RAM (test one stick at a time)
- Reseat the graphics card
- Disconnect and reconnect storage drives
Loose components are a common cause of no power.
7. Clear the CMOS / BIOS
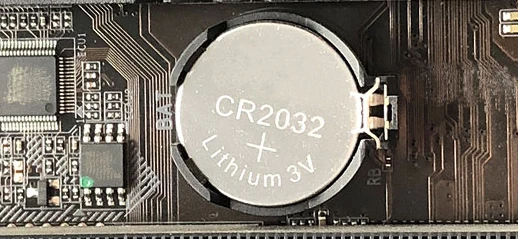
- Remove the CMOS battery for 5 minutes
- Or use the motherboard’s clear CMOS jumper
- Reinstall the battery and try again
This resets corrupted BIOS settings.
8. Test Minimal Hardware Setup
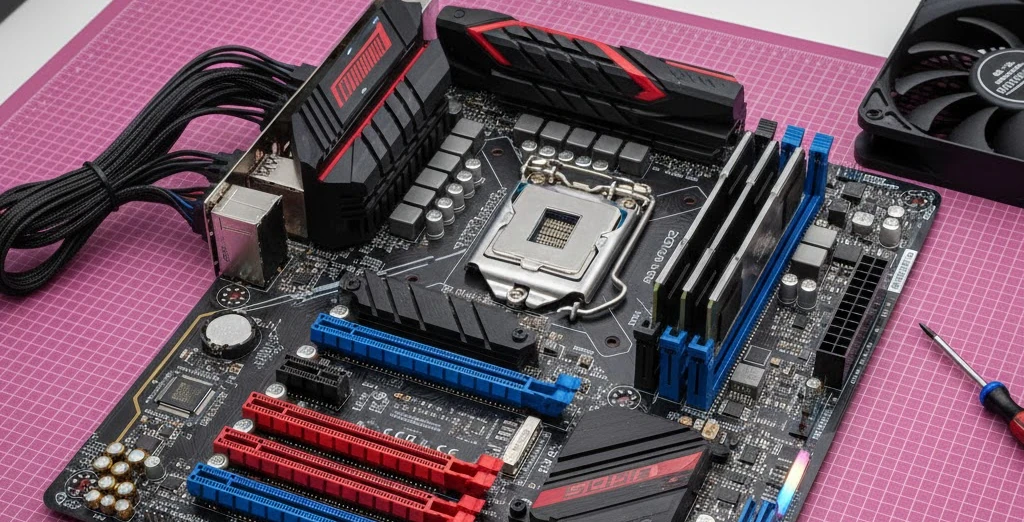
Boot with only:
- Motherboard
- CPU + cooler
- One RAM stick
- Power supply
If it powers on, add components back one at a time.
9. Check for Motherboard or CPU Failure
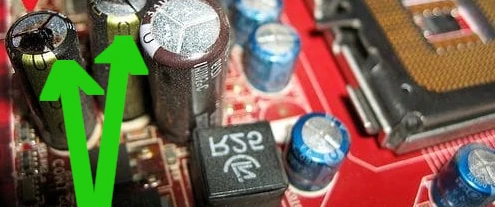
Look for:
- Burn marks
- Bulging capacitors
- Bent CPU pins
If found, replacement is usually required.
10. Laptop-Specific Checks

- Inspect the charging port for looseness
- Try a different compatible charger
- Perform a hard reset (remove battery + hold power button 30 seconds)
11. When to Seek Professional Repair
If the system still won’t turn on after all steps:
- The motherboard, CPU, or power circuitry may be dead
- Professional diagnostics or replacement is recommended
Final Notes
Most “won’t turn on” issues are caused by power supplies, loose connections, or faulty RAM. Always start with simple checks before replacing hardware. Following this guide step by step helps isolate the failure accurately and safely.