If your external USB hard drive is new, not showing up correctly, or displaying errors, you may need to initialize or format it before it can be used on Windows 11.
This guide explains how to safely initialize, partition, and format an external hard drive using built-in Windows tools.
⚠️ Before You Start ⚠️
Formatting a drive will erase all existing data.
If the drive contains important files:
- Back up the data first
- Double-check you selected the correct drive
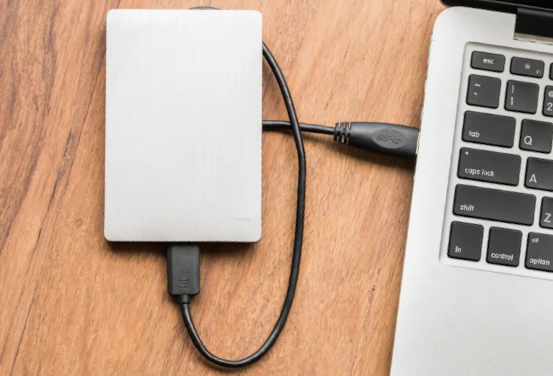
Method 1: Initialize a New External Hard Drive
If Windows detects the drive but it does not appear in File Explorer, it may need initialization.
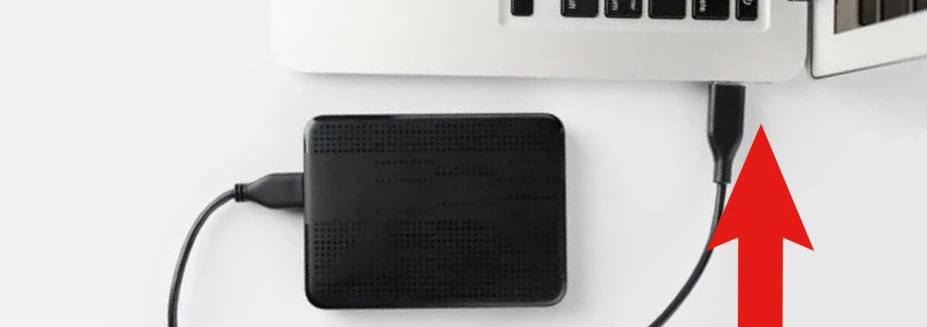
Step 1: Connect the USB Drive
- Plug the external hard drive into a USB port
- Wait a few seconds for Windows to detect it
Step 2: Open Disk Management
Option 1
- Right-click the Start button
- Select Disk Management
Option 2
- Press:
Windows + X
Then choose:
Disk Management
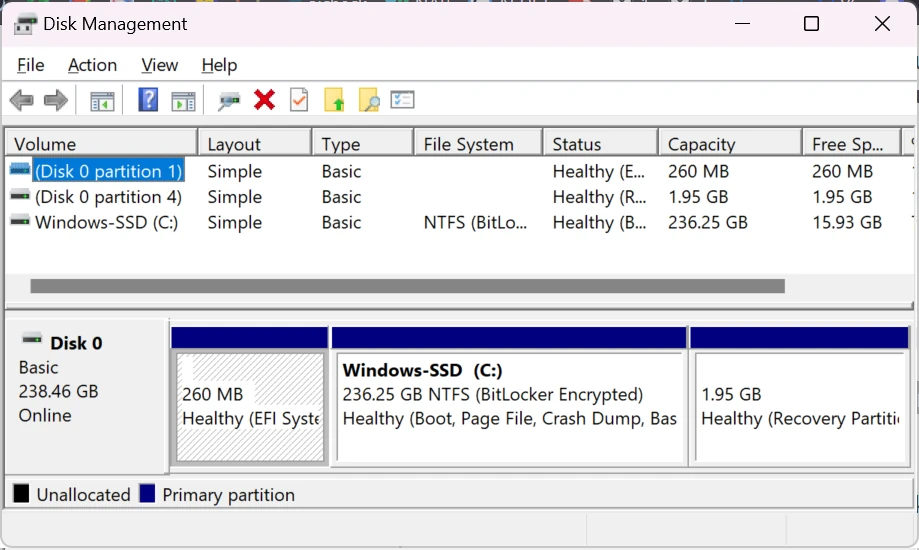
Step 3: Initialize the Disk
If the drive is new, Windows may automatically show:
Initialize Disk
Choose one of the following:
GPT (Recommended)
Use for:
- Windows 11 systems
- Drives larger than 2TB
- Modern PCs with UEFI
MBR
Use for:
- Older systems
- Legacy BIOS compatibility
Most users should select:
GPT (GUID Partition Table)
Click:
OK
Method 2: Create a New Volume
After initialization:
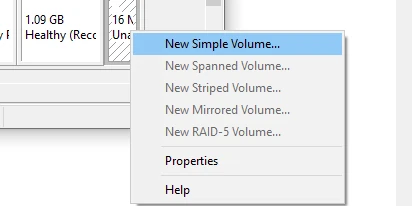
- Right-click the unallocated space
- Select:
New Simple Volume
Follow the wizard:
- Choose drive size
- Assign a drive letter
- Select a file system
Method 3: Format the External Drive
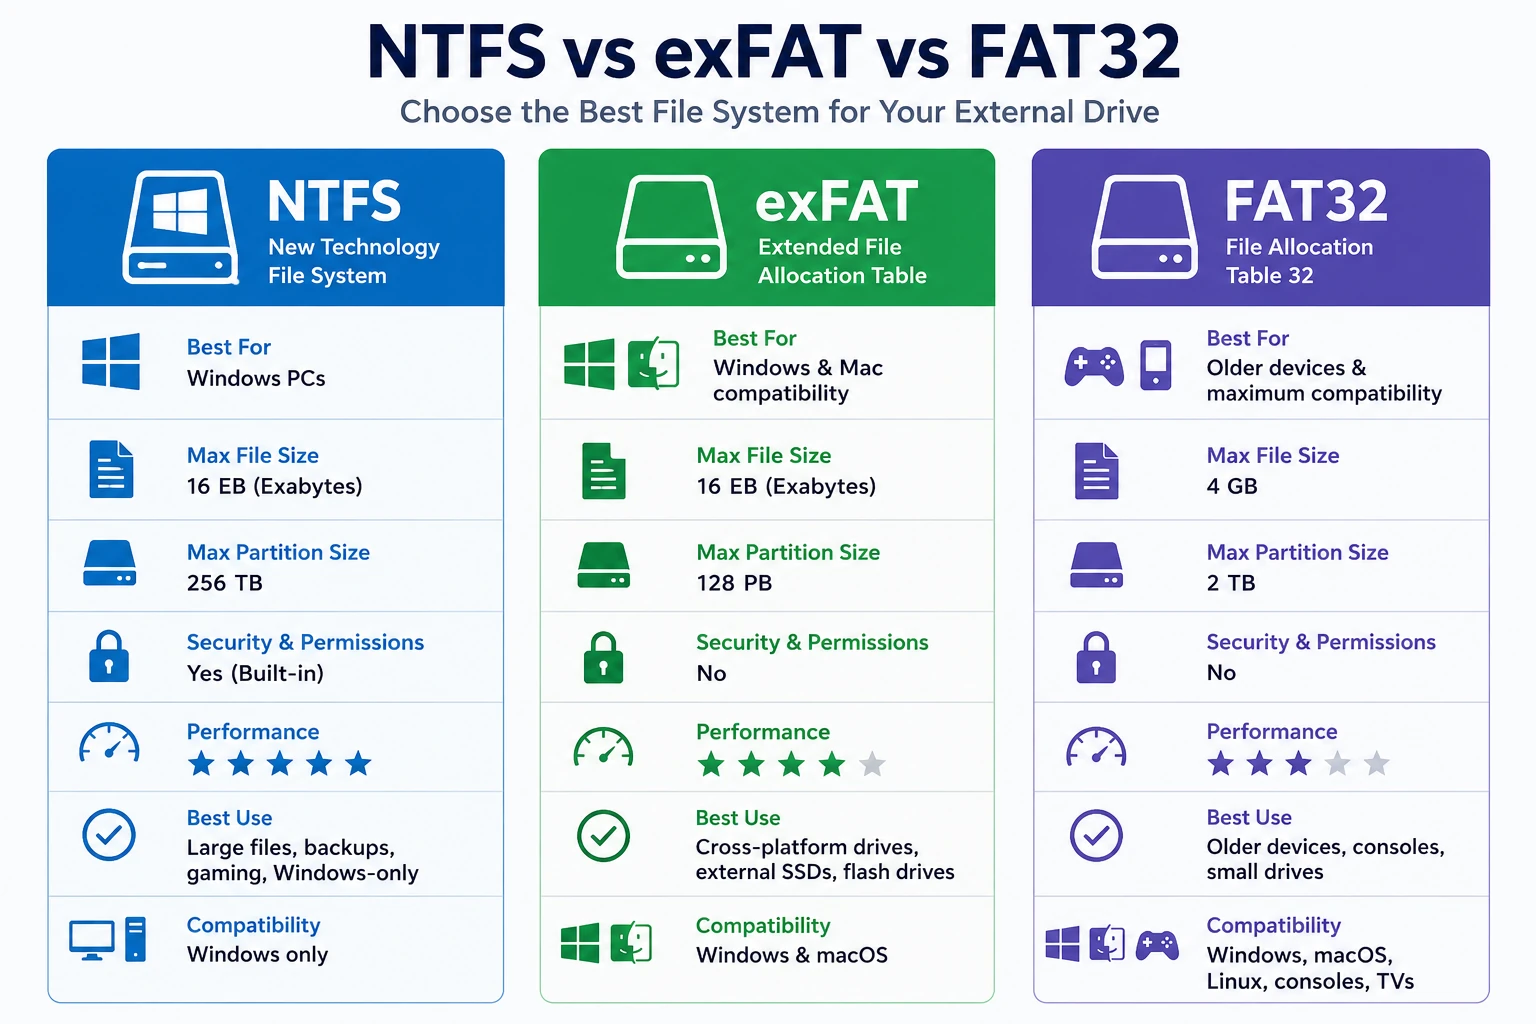
Recommended File Systems
| File System | Best Use |
|---|---|
| NTFS | Windows-only drives |
| exFAT | Windows + Mac compatibility |
| FAT32 | Older devices and small drives |
For most Windows 11 users:
NTFS
is recommended.
Formatting Steps
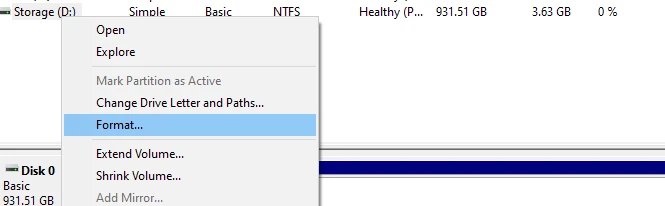
- Right-click the drive partition
- Select:
Format
Choose:
- Volume label (drive name)
- File system
- Quick Format
Click:
OK
Windows will prepare the drive for use.
Fix: External Drive Not Appearing
If the drive still does not show up:
Try These Fixes
Change USB Ports
Use:
- USB 3.0 port
- Rear motherboard ports on desktops
Try Another Cable
Faulty USB cables are common.
Assign a Drive Letter
In Disk Management:
- Right-click the partition
- Choose:
Change Drive Letter and Paths
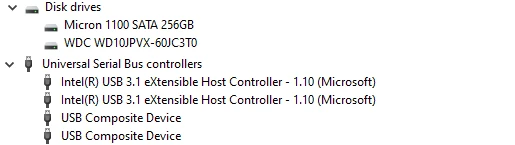
Update Drivers
Open:
Device Manager
Update:
- USB drivers
- Disk drives
- Chipset drivers
How to Format Using Command Prompt (DiskPart)
Advanced users can use DiskPart.
Warning
Selecting the wrong disk can erase data.
Open DiskPart
Search:
cmd
Run as Administrator.
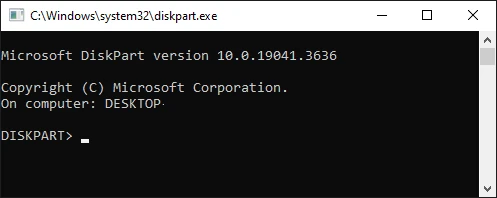
Type:
diskpart
List Drives
list disk
Find your external drive.
Select the Drive
Example:
select disk 2
Clean and Format
clean
create partition primary
format fs=ntfs quick
assign
exit
The drive should now appear in File Explorer.
Best File System for External Hard Drives
NTFS
Best for:
- Windows PCs
- Large files
- Gaming drives
- Backups
exFAT
Best for:
- Windows and Mac sharing
- External SSDs
- Flash drives
FAT32
Best for:
- Older devices
- Consoles
- Maximum compatibility
Limitations:
- 4GB file size limit
Conclusion
Initializing and formatting an external USB hard drive on Windows 11 is usually quick using Disk Management. Most users should choose:
- GPT partition style
- NTFS file system
If the drive is not detected, checking cables, USB ports, drivers, and drive letters can often resolve the issue without replacing hardware.