This a common error after doing an update on Windows 10 and many network adapters especially ones in Laptops will also drop out from time to time and cause stability issues. So, when you see this message come up: Windows could not find a driver for your network adapter we have a few things we can try to fix the problem and we will go over them step by step in this document.

Listed in order of things to try these solutions have been known to resolve this issue:
- Update the Network Adapter driver x
- Uninstall and Reinstall the Network Adapter driver x
- Run the Windows Hardware and Devices Troubleshooter
- Run System Restore.
1) Update the Network Adapter driver in the Device Manager.
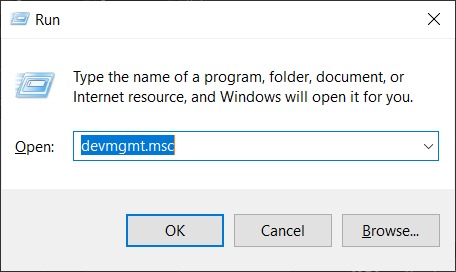
Updating the affected network adapter is a simple procedure. First Go to Start and bring up the run box or use the shortcut keys (Windows key + R). In the run dialogue box type devmgmt.msc and click OK to open the device manager.
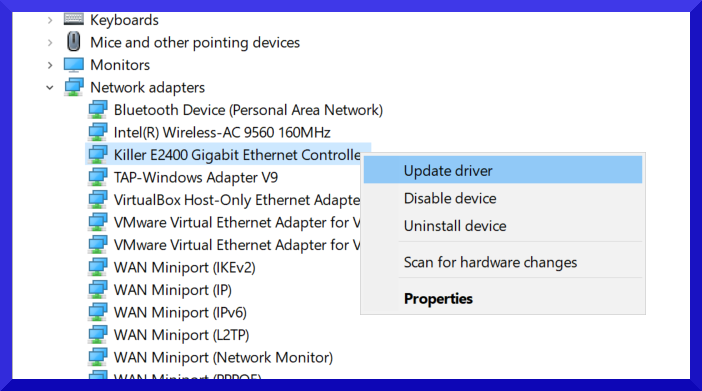
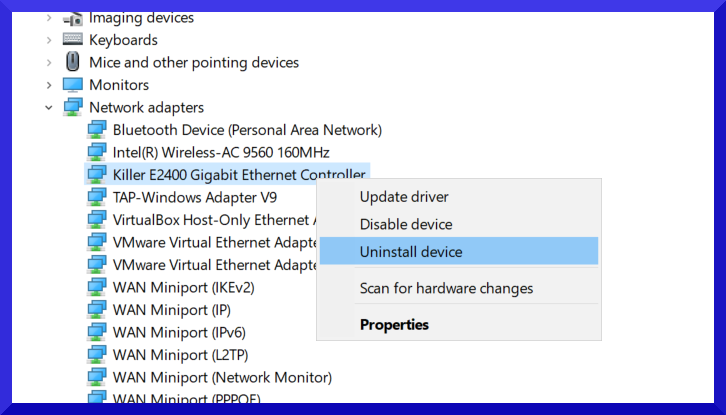
Once in the device manager right click (hold your touch on the device for touch screen) on the network adapter you are having issues with and click on Update Driver. Do this for all affected adapters. Restart the computer and see if it is fixed.
2) Uninstall and Reinstall the Network Adapter Driver in the Device Manager
If the previous steps didn’t work you can try, the same steps but use the Uninstall selection instead. If you are worried about uninstalling the drivers there is a free utility to back up your Windows drivers here.
Then restart the computer to allow the system to install the driver again via detection at startup. If the driver doesn’t install automatically you can go back to the device manager and scan for hardware changes by clicking Action -> Scan for Hardware changes. This will detect the network adapter again and install the driver.
If this doesn’t fix the problem download the latest driver from either this site or the manufactures website on another computer and place the drivers on a USB driver or similar. Follow the installation procedure for that driver.
3) Run the Windows Hardware and Devices Troubleshooter
The Windows Hardware and Devices Troubleshooter is used for scanning and detecting issues with device including network adapters. This tool can attempt to fix many of the issues that may arise from misconfigured hardware and resolve the problem with fixing configuration for the device. To Access it Click on the Start button and select the gear-like icon to open the settings menu. Goto “Updates and Security” from the Windows Settings menu and then click on Troubleshoot.
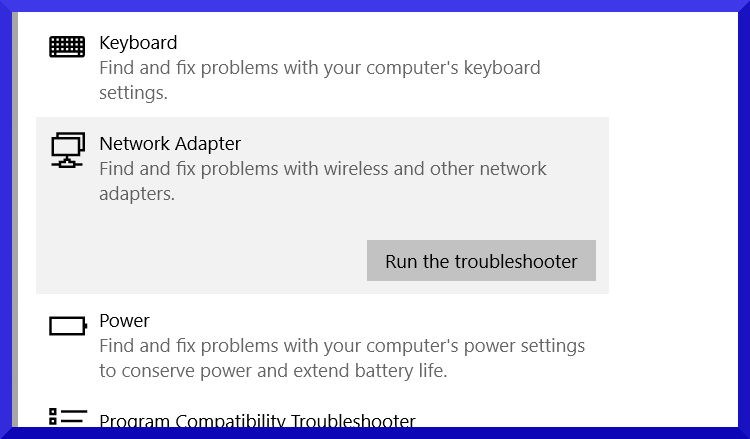
Select the Hardware and Devices troubleshooter and run it. In Windows 10 you will be presented with options to diagnose specific hardware types. Select Network Adapter Troubleshooter.
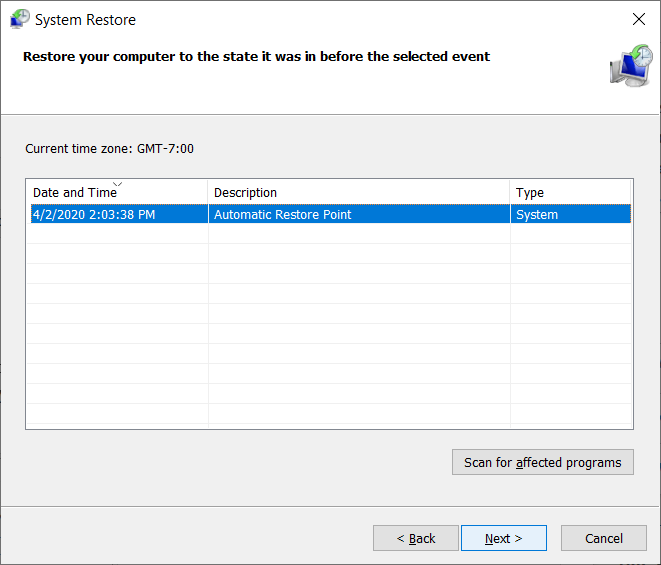
4) Run System Restore.
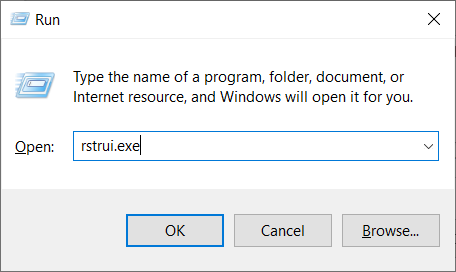
Try restoring the computer back to a time when the adapter was working correctly. May time this will fix the issues due to invalid configuration or files missing. To run System Restore use the shortcut keys (Windows Key + R) to bring up the run dialogue box type in rstrui.exe and click. Follow the prompts to restore your computer.