Device
Manufacturer
Model No.
Realtek
Also Known As
realtek audio driver for windows 10
audio driver realtek windows 11
how to fix realtek audio driver
download realtek audio driver windows 10
realtek official website
newest realtek audio driver 2023
realtek audio driver windows 10 64 bit
reinstall realtek audio driver
Reinstalling the Realtek HD Audio Codec driver can help resolve audio issues or conflicts on your computer. Here's a step-by-step guide on how to do it:
Note: Before proceeding, make sure you have the latest driver downloaded from the official Realtek website or your computer manufacturer's support website.
-
Uninstall the Current Driver:
- Press Win + X and select "Device Manager."
- Expand the "Sound, video and game controllers" section.
- Right-click on "Realtek High Definition Audio" (or similar) and choose "Uninstall device."
- Check the box that says "Delete the driver software for this device" if available, and then click "Uninstall."
-
Download the Latest Driver:
- Visit the official Realtek website or your computer manufacturer's support page.
- Locate and download the latest Realtek HD Audio driver for your specific operating system and hardware.
-
Install the New Driver:
- Run the downloaded driver installer.
- Follow the on-screen instructions to complete the installation process.
- If prompted, restart your computer to finish the installation.
-
Verify Driver Installation:
- After the restart, open "Device Manager" again.
- Expand "Sound, video and game controllers" to ensure "Realtek High Definition Audio" is listed without any error symbols (e.g., yellow triangle).
-
Adjust Audio Settings:
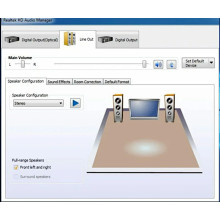
- Right-click the speaker icon in the system tray and select "Open Sound settings."
- Under "Choose your output device," select the Realtek audio device as your default playback device.
-
Test Audio:
- Play a sound or video to confirm that the audio is working correctly.
Reinstalling the Realtek HD Audio Codec driver should resolve most audio-related issues. If you encounter persistent problems, consider checking for Windows updates, adjusting sound settings, or seeking assistance from your computer manufacturer's support team.
Force Cache (Faster Mirror)